Hello everyone! In this 2nd (or 3rd depending on how you count things) part of my Arch Linux series we’re installing a desktop, installing almost 2,000 hacking tools, setting up Remote Access to our system via SSH and installing an easy virtualization platform so that we can run VM’s in our new OS which makes building a home lab much easier.
Installing the Desktop
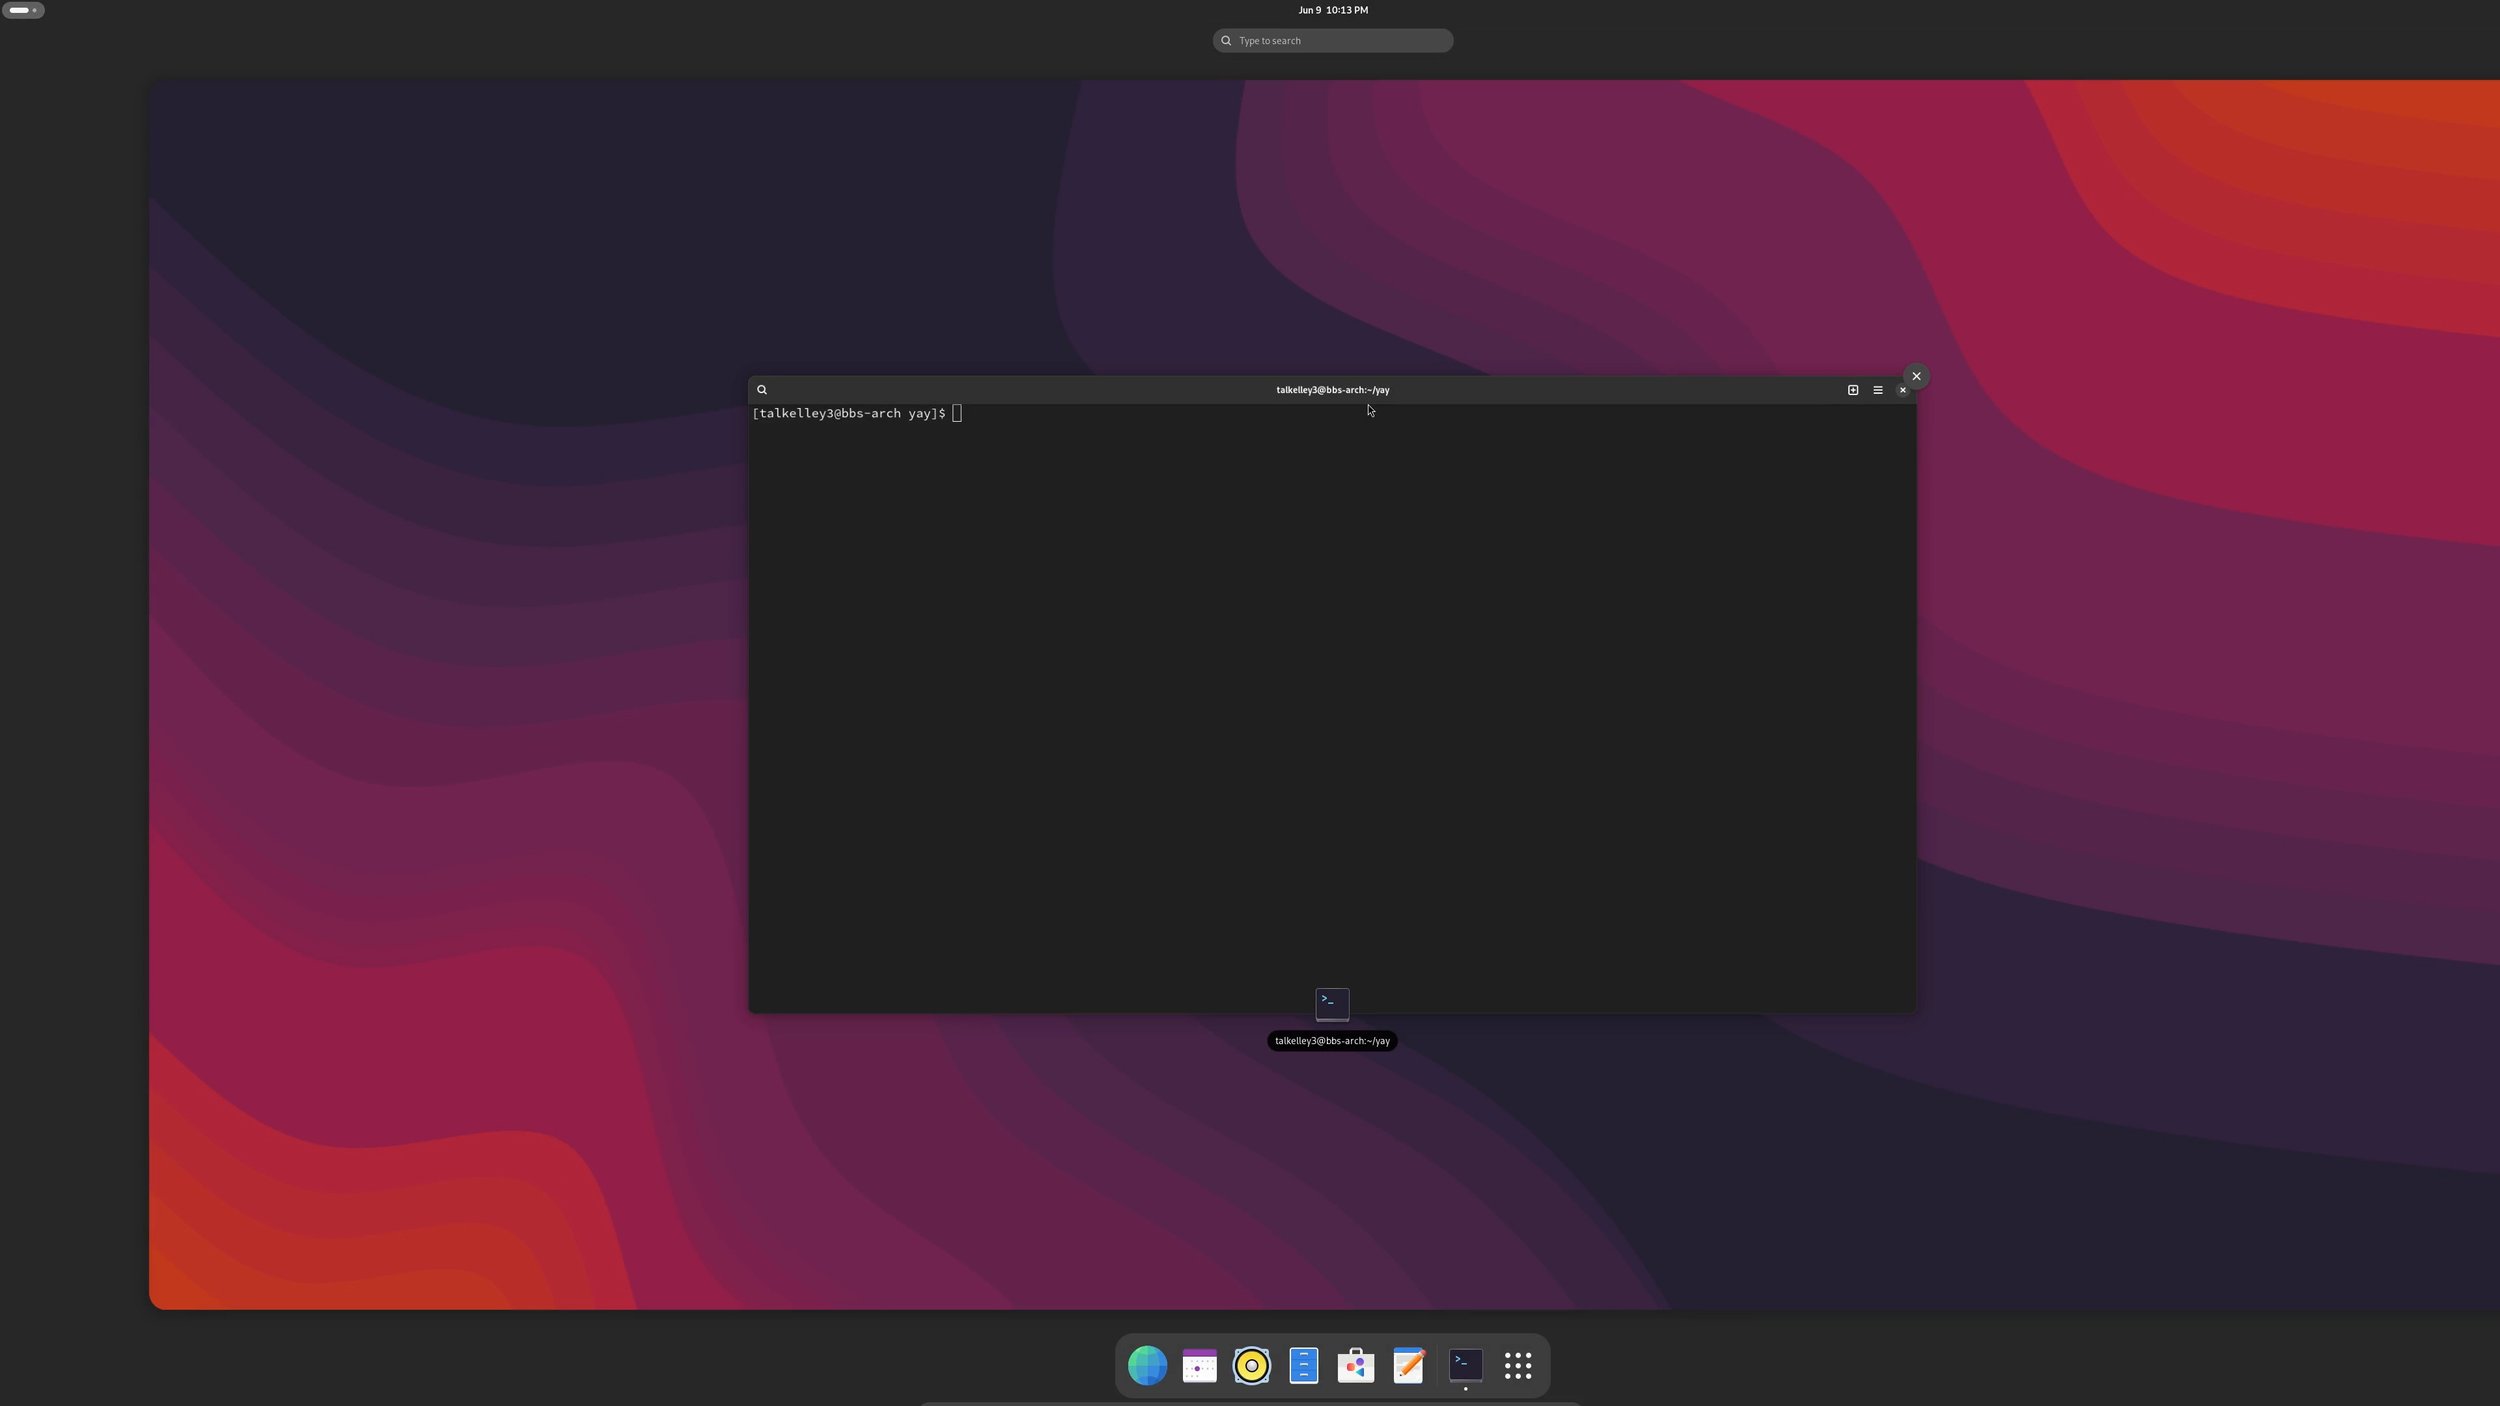
Our desktop environment of choice today is Gnome. It’s a simple desktop environment that works well out of the box and runs on the latest compositor Wayland. (Xorg came before it but is being slowly phased out for many Desktop Environments). To do that we’ll run the command. sudo pacman -Syyu to get all the latest updates. sudo pacman -S gnome gnome-tweaks neovim vifm to install Gnome (the desktop envrionment), Gnome Tweaks an advanced settings program for Gnome, Neovim a better Vim text editor, and vifm a vim based file manager. Once this is done installing we’ll run this command to get things working. sudo systemctl enable gdm Enables Gnome to start on startup sudo systemctl start gdm Starts Gnome right now! After that you should be met with a login screen. Log in and now you’re on your desktop!

Installing Hacking Tools!
Step two is installing the largest repository of hacking tools I know of. BlackArch! To do this we’ll run: curl -O https://blackarch.org/strap.sh to download the install script. sudo chmod +x ./strap.sh to make the script able to be executed. sudo ./strap.sh to run the script. After this run sudo pacman -Syyu to get any updates needed and to fully initialize the repository. If you run sudo pacman -S blackarch it will install the whole repository as a “group” where you can see there are over 1950 hacking tools! I don’t recommend this as the chance you’ll need them all is unlikely, and it will just bloat your system, but when you do need a tool chances are it’s here!
Configuring Remote Access
To configure remote access via ssh all we need are a few commands. sudo pacman -S openssh to install the openssh server.k sudo systemctl enable sshd to enable the ssh server to work on startup sudo systemctl start sshd to start the server right away!
Installing the Easiest HyperVisor Ever!
Finally to install a hypervisor that makes creating VM’s a piece of cake we can install gnome boxes! sudo pacman -S gnome-boxes Once it is installed you should be able to find it and see how easy it is to create VM’s!
Conclusion
I hope you enjoyed this brief tutorial. If you have any suggestions for future videos let me know in the comments below and on my YouTube video! Subscribe to the channel and like the video on YouTube to help support me and my work and I’ll see you in the next post! Cheers!

Leave a Reply